
Using Tilt and Swing on the Cambo WRS lenses with Jack Flesher.
Posted on February 9, 2010
Editors note: If you have any interest in landscape photography, traditional or alternative film and
print processes, or enjoy photo forums but find yourself sometimes turned off by the typical
forum-bickering-and-posturing, we strongly recommend the GetDPI.com forum.
They provide a positive environment for the discussion of photography, aesthetics, techniques and gear. The members
are very knowledgeable and helpful and the discussions are very often the best place on the web to get advice.
By Jack Flesher of GetDPI.com
Thanks to our good friends at Capture Integration, I was able to borrow their Cambo WRS tech camera with a
Rodenstock Digaron HR lens mounted in a Cambo TS lensmount for a quick field test.
Some background. I have avoided investing in a tech camera kit since one of the main features I wanted was
separate tilts and swings up front with rise, fall and shifts at the back, and only recently has that option
become (readily) available. Sinar released the Arctech about a year ago, and to date I have not been able
to even look at one, though I understand there are a few floating around. Arca recently introduced their
RM3D tech camera that incorporates a front standard tilt with rear rise/fall and shifts, all while using a
dedicated focusing helical on the camera for all lenses. Without going into laborious detail, both of the
aforementioned solutions will accomodate my desires, but if I understand their operation correctly, require
some added camera gymnastics to get a combination of swing, tilt, rise and focus at the same time. For me,
that trio is an often desired combination of movements when photographing three-dimensional subjects with
broad near-far subject distances. Which brings me to the main feature that intrigued me about CamboÆs TS
lensmount solution Ś it allows separate tilt and swing adjustments up front on the lens axis while allowing
rise, fall and shifts at the rear. (There are a few excellent view camera choices which offer all of these
movements, even independently at both ends, which is an obvious advantage for precise adjustments. However
a view camera makes for a significantly larger package to transport, is more complicated to set up and use,
and is virtually impossible to use hand-held, so I leave them out of the tech camera discussion.)
So armed with the Cambo and 40 HR, I mounted my P65+ back and set out to photograph a decent test subject.
In this case, an old passenger train car. IÆm going to get straight to picture examples showing results,
and leave out all the preparatory discussion on how to use a tech or view camera. While the how-to portion
is a worthwhile discussion, itÆs lengthy, and most folks considering a tech camera purchase will already
know the basics of working them. For those of you who donÆt, youÆll hopefully at least be able to see why
a camera with movements is worth considering.
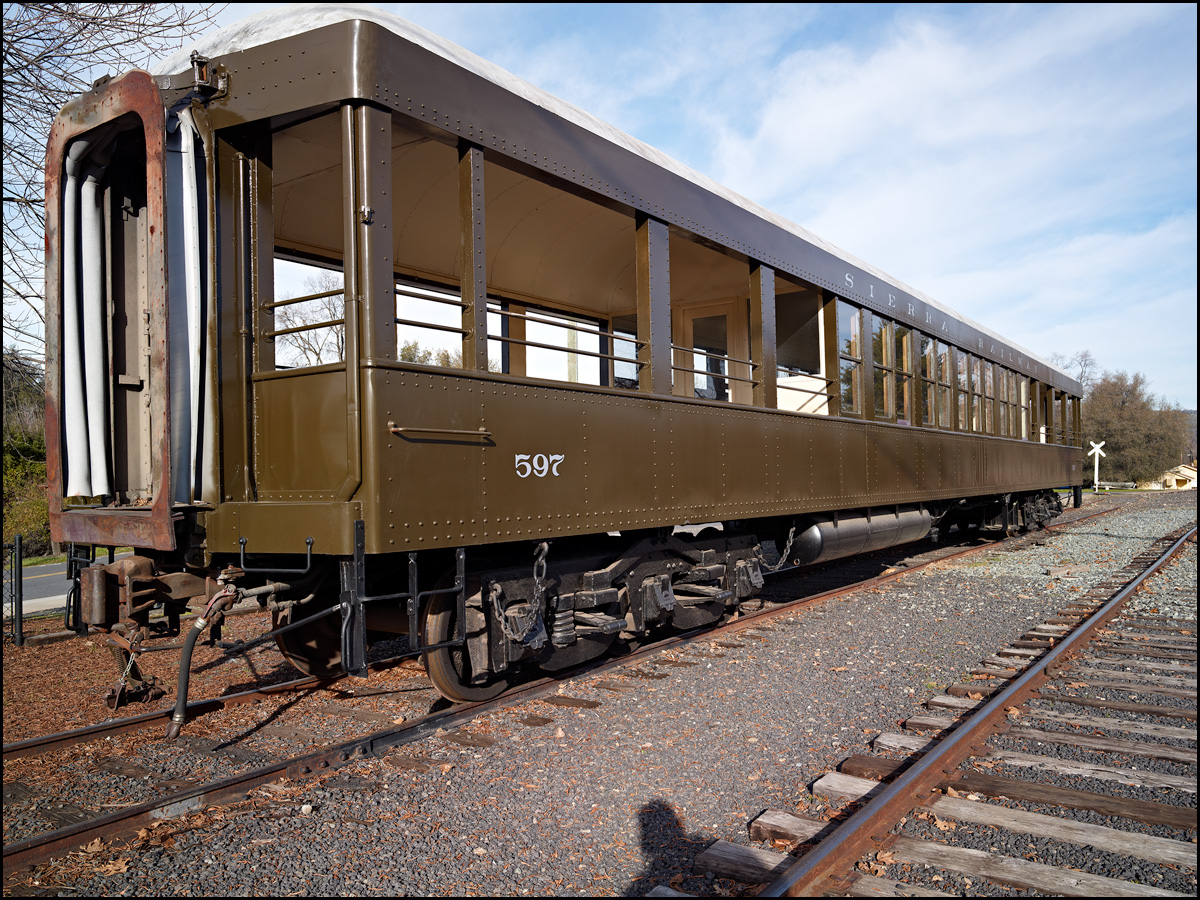
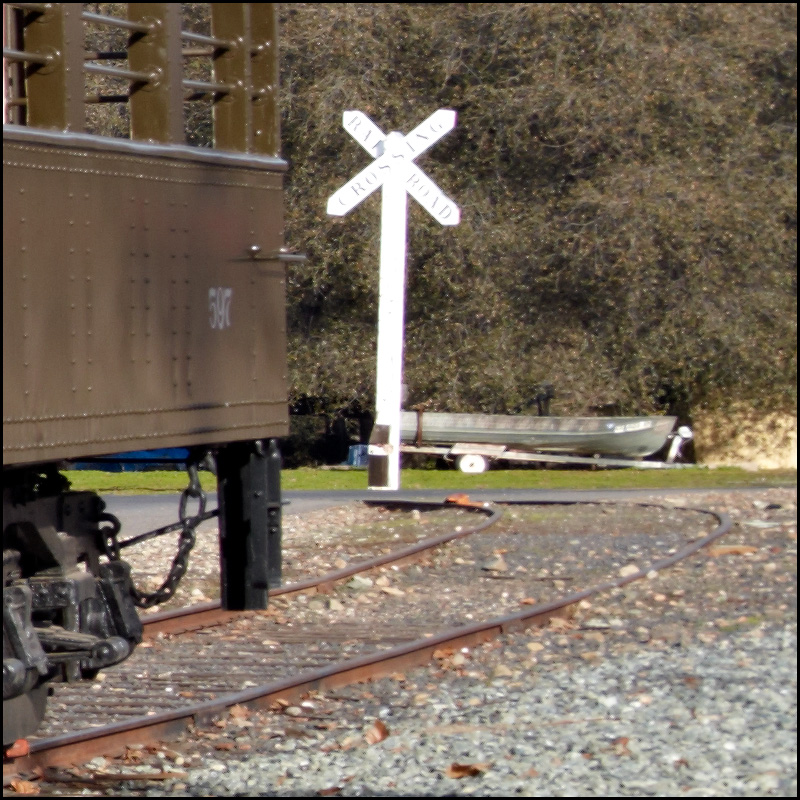
HereÆs the ōnormalö shot.
For this one, the Cambo is leveled and zeroed, meaning no movements of any kind have been made:
enlarge click here
Jack Flesher using the Cambo WRS 40HR T/S
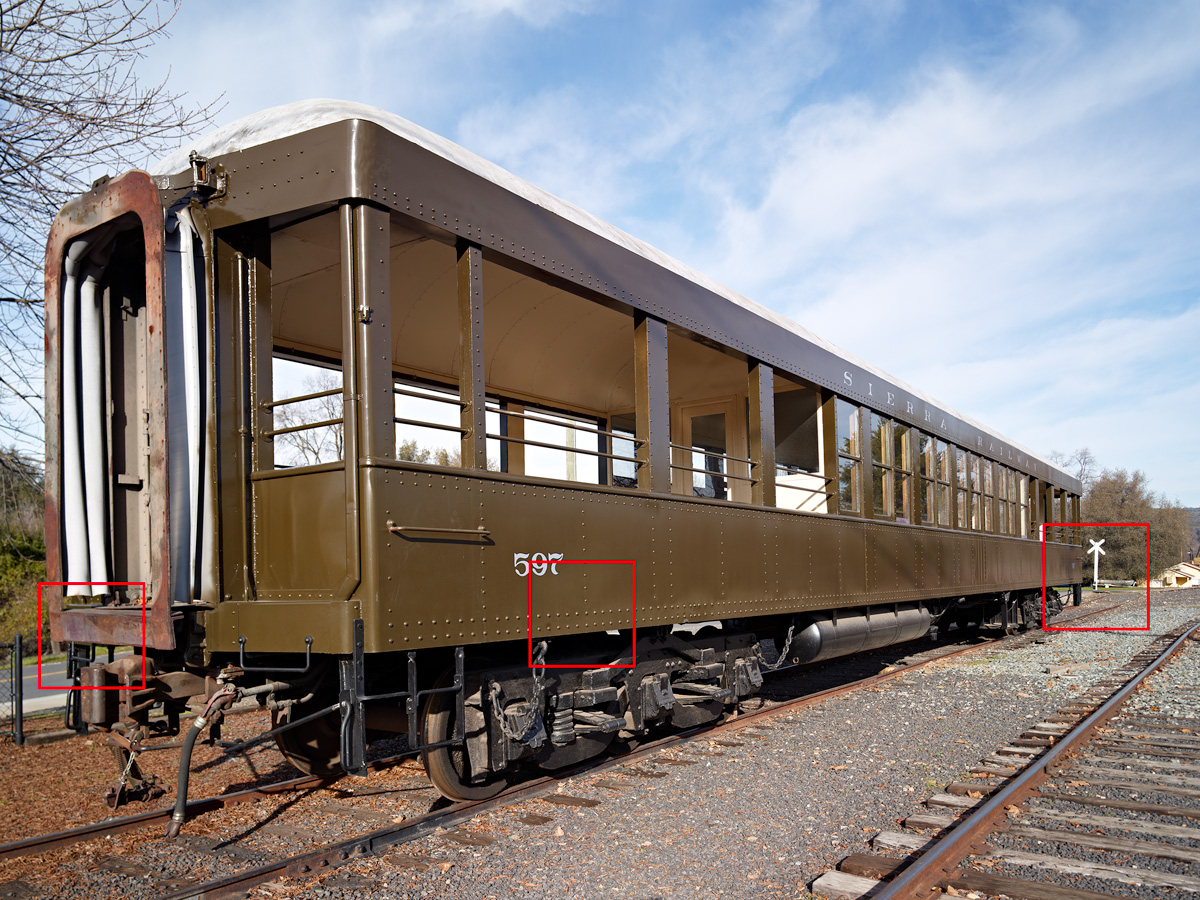
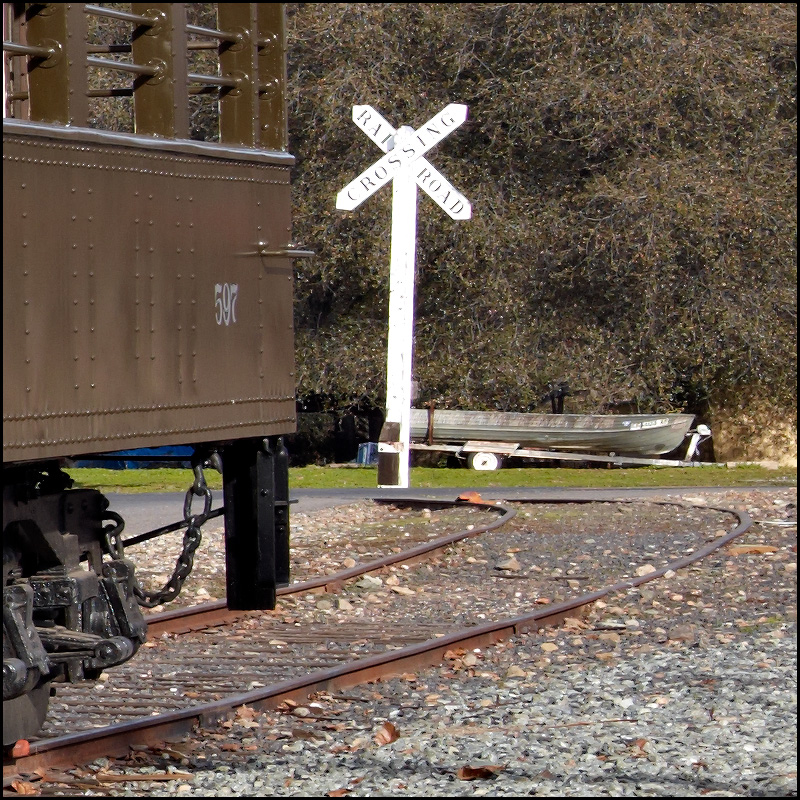
The first problem we note is my shadow is in the image, which is an absolute no-no. So the first movement
I make is rise, or back fall. Here I used 5mm rise, and note it has the effect of moving the camera to a
shooting position several feet higher Ś note that the camera has not moved at all, the only adjustment is 5mm of rise:
enlarge click here
Jack Flesher using the Cambo WRS 40HR T/S
Note that my shadow is gone, and I have more room over the train car, all good things. The three red squares
indicate where IÆll be pulling crops from. The far left is the ōnearö subject point, the center is the ōfocusö
point and the far right is the ōfarö subject point. Our goal is to get all of them into acceptable focus.
I shot all of these frame at f10 as that is near the ideal performance aperture for the lens before diffraction
starts deteriorating the fine detail. Here are the crops from the frame with no tilts or swings and only the 5mm rise:
First the focus area, and as you can see we have good focus:
enlarge click here
Jack Flesher using the Cambo WRS 40HR T/S
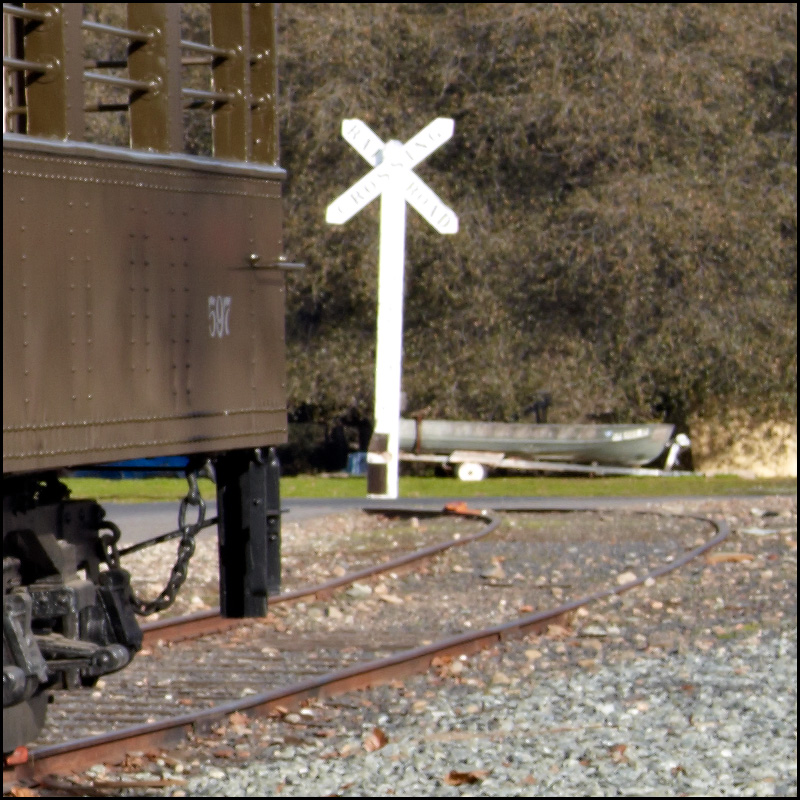
Next the far end, and you can see we are well out of focus, having run out of DoF:
enlarge click here
Jack Flesher using the Cambo WRS 40HR T/S
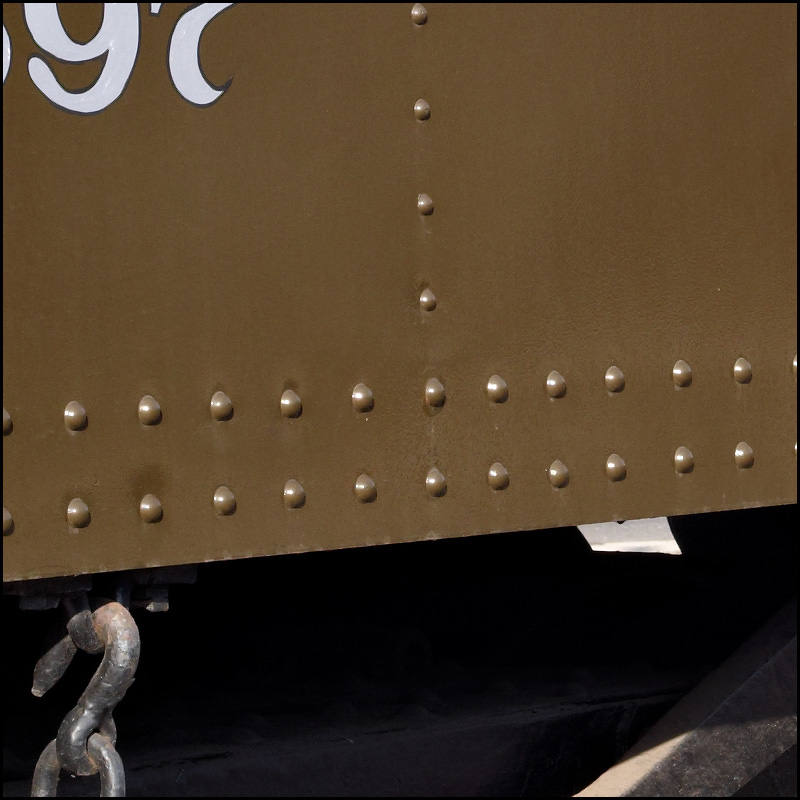
Finally the near end Ś and note it is in good focus as well.
This is because it happens to lie in the same plane as my main focus area:
enlarge click here
Jack Flesher using the Cambo WRS 40HR T/S
Next letÆs take a look at what happens when I add one degree of swing toward the train car.
(Note that from years of experience of shooting Large Format view cameras and tilt-shift lenses,
I have a pretty good idea how much tilt or or swing I am likely to need to solve most problems,
so I had a good idea where to start for this one.) Anyway, as you can see, focus has clearly
improved over the frame above, though still a bit soft for my tastes:
enlarge click here
Jack Flesher using the Cambo WRS 40HR T/S
Now for the near zone. Unfortunately our swing has moved the plane of focus closer to the camera
at this side of the frame and now our near end is seriously out of focus:

enlarge click here
Jack Flesher using the Cambo WRS 40HR T/S
Here is where the ōmagicö of having tilts and swings comes into play. LetÆs take a look at what happens
to the image when I now add one degree of forward tilt while keeping the one degree of swing.
First the far end. Wow, pretty darn sharp!:
enlarge click here
Jack Flesher using the Cambo WRS 40HR T/S
But what about our near end? Well, presto, it popped back significantly too. Not perfect, but all-in-all
a very good compromise IMO:
enlarge click here
Jack Flesher using the Cambo WRS 40HR T/S
Note that I also took a set using 1/2 degree of tilt and 1/2 degree of swing. This combination ended up
favoring the near end slightly at the expense of a slightly softer far end, for roughly the same final result.
I opted for this version as it worked best for the entire side of the car, keeping critically sharp along itÆs
entire length, which I felt was the more important subject. As with most things, there are compromises, and
itÆs physically impossible to render all points on a three-dimensional subject in perfect focus on a two-dimensional
sensor. But at least with some minor camera movements, we can get a lot closer than we can without them.
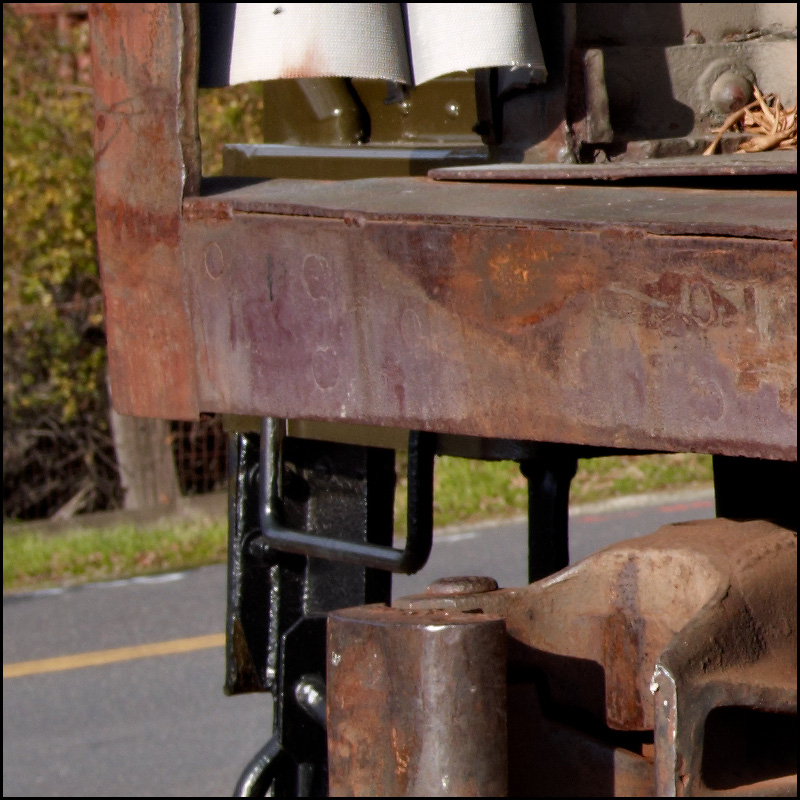
Here is a shot of the tilt/swing side of the Cambo, taken when the settings were at the 1/2 degree points:
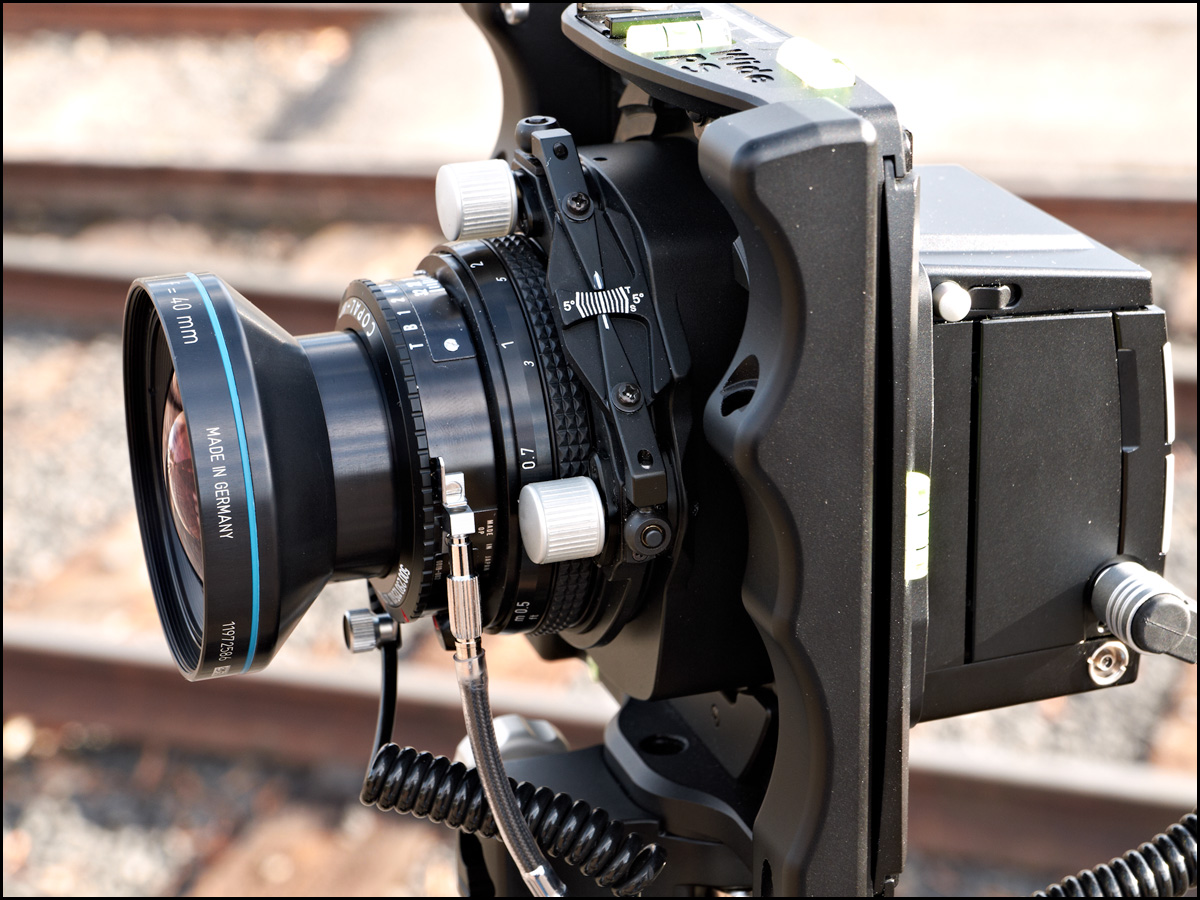
enlarge click here
Jack Flesher using the Cambo WRS 40HR T/S
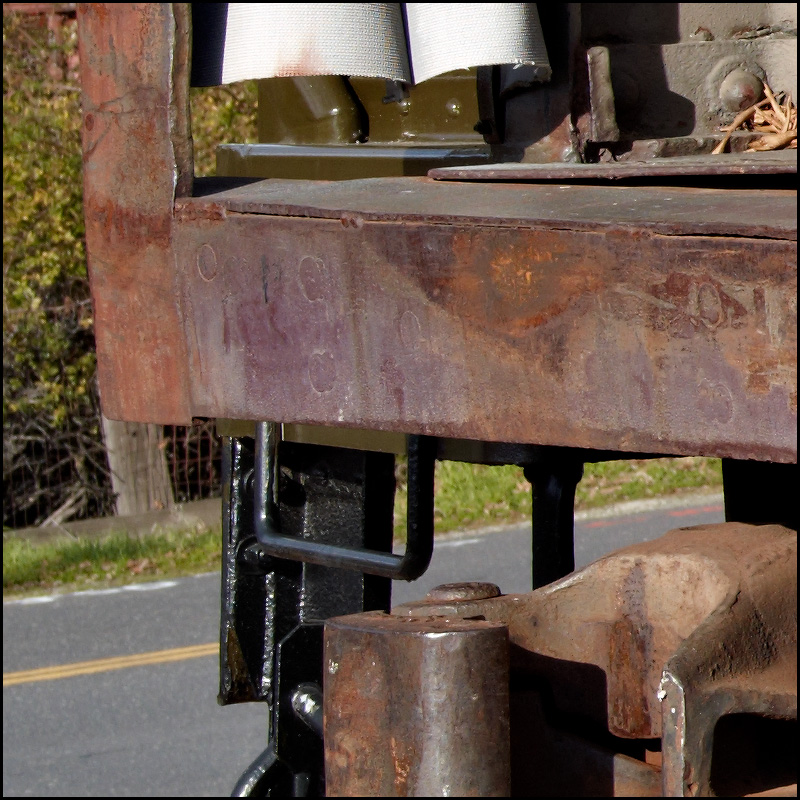
HereÆs a closer shot of the scale at the 1 degree marks:
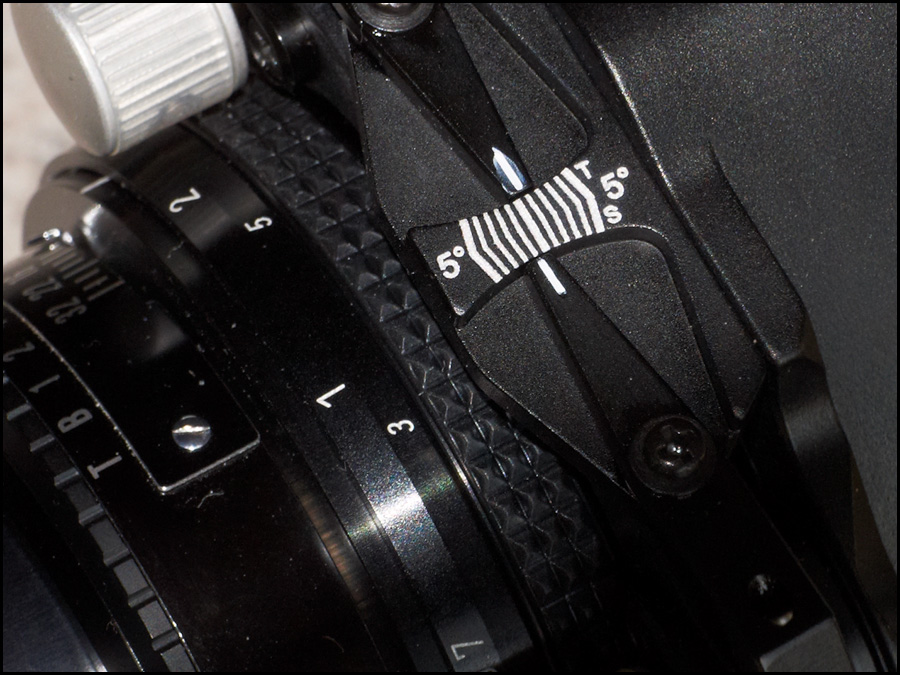
enlarge click here
Jack Flesher using the Cambo WRS 40HR T/S
HereÆs the rise/fall side of the Cambo showing my 5mm of rear fall:

enlarge click here
Jack Flesher using the Cambo WRS 40HR T/S
Tip: If you shoot a tech or view camera, you will probably want some type of hand-held meter and some kind
of viewing device or optical finder. Sure you can guess the exposure, then use the histo on your back to
get it nailed, but we usually want to get closer to start. You can pay upwards of $500 for a good spot meter,
then spend another 20 hours really learning how to use it properly, and you can also pay several hundred
dollars for a good viewfinder with masks for your lens focal lengths Ś and I do own both. Or alternatively,
you can do what I did for these images Ś carry a small digital camera and use it as both a meter and a finder!
In this case, I used my GF1. For my P65+ I divide the mounted focal by three to get the GF1 focal Ś in this
case the 40 needs a 13mm on the GF1, so the wide end of my 14-45 was near perfect. By pointing the GF1 at
the train with the lens set at 14mm, I was quickly able to determine the ideal position for the tripod with
the tech camera, as well as the proper direction to point it. Next we have exposure. Really easy, just set
the GF1 to ISO 100 and using Av mode with the appropriate aperture plus a one stop correction for the P65+
being at ISO 50 and weÆre done! To wit, the very first frame I took with the Cambo was the frame I used
above with my shadow in it Ś I was that close out of the gate! If you use a DSLR, you could also use the
lens distance scale to help judge the focus setting for your tech lens, but thatÆs a much heavier and larger
solution. In the case above I just estimated my desired focus distance figuring my desired focus point on
the train was about 5 meters away. So I just set the DigaronÆs scale to 5 M and fired, hitting it right on.
Conclusion. I like this camera a lot. A whole lot. It is easy and intuitive to use and relatively compact
and thus easy to transport. Plus itÆs fast to set up and adjust. And I really like that Rodenstock Digaron HR!
It is stunningly crisp to the corners of my P65+ frame, which is a tough oder to fill for any lens. I suspect
the 70 is equally as good as this 40, and my preferred trio would be those and a 135 in the TS mounts.
So is there any bad news? Yes, at least for me, and thatÆs the groundglass. Estimation in the field is fine
when distances are long, as you rarely need more than a degree or two of tilts with an 80mm lens, or half
that with a 40 and twice that with a 150. But when distances get closer and lenses get shorter, movements
and focus becomes far more critical and even minute changes can impart a significant change in the image.
Thus for critical work, I absolutely need to be able to compose on a ground glass.
To use a GG on the Cambo WRS, you need to remove the digital back and mount the GG. Once you have composed,
you remove the GG and remount your digital back. I have an aversion to mounting and unmounting a digital
back in the field, especially in cold or wet conditions when I am likely wearing gloves. A dropped back
during that transfer seems a likely accident waiting to happen, and that will be an expensive accident when
it does happen.
Here is where the aforementioned Sinar and Arca tech cameras have an advantage Ś both have sliding backs
available as options. Here you mount your back and the GG on a slide which you simply move to position back
or GG behind the camera. When the GG is in viewing mode, the back is protected by a cover on the slide. Very cool.
But it also adds weight, and size and cost, and all of a sudden your compact tech camera isnÆt so compact.
On the upside, for my uses in the field I think I can get away with estimation probably 80% of the time.
For critical work, IÆll usually be in the studio where swapping out GGÆs and backs is less of a hazard, so
maybe I could live with the Cambo GG arrangement Ś but it sure would be nice to have a sliding back optionģ
I think IÆd really like to test drive the Arca with itÆs sliding back and the same 40 Digaron before I make
my investment Ś switching platforms is expensive Ś but the Cambo is definitely a compelling solution as it sits.
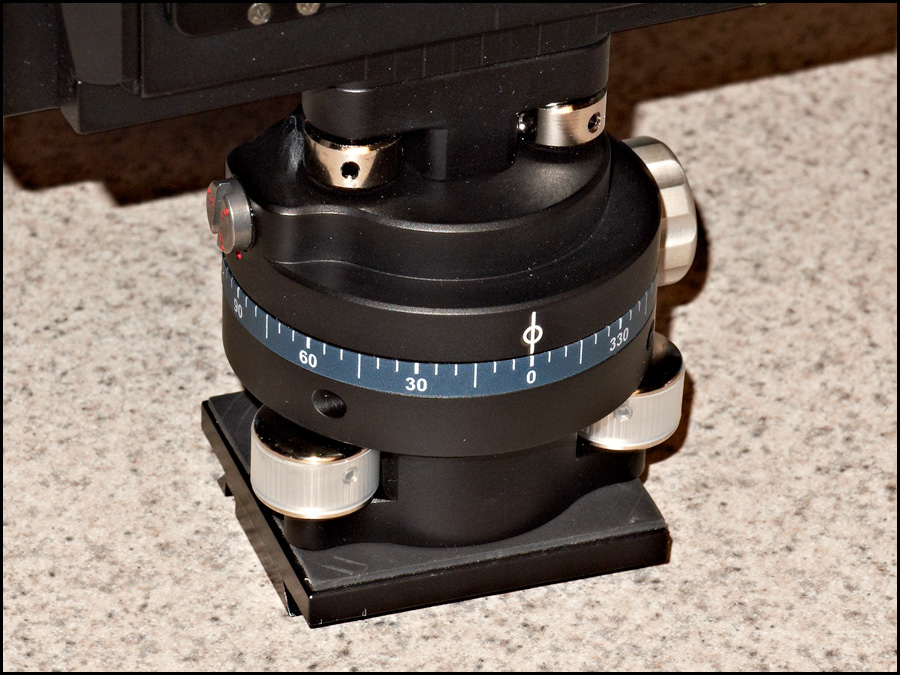
An added note on the Cambo leveling/pan base. If you look at the last image above, you can see the base under
the camera. It is a very elegant affair, quite compact for what it does, and also extremely rigid. The base
has three leveling screws, two situated at the rear to the sides, and one up front on axis. To level it, you
simply dial one of the rear knobs to get side-side (roll) level. Then you either adjust the front knob or move
both rear knobs the same direction to get fore-aft (pitch) level. And youÆre done, easy. The head pans about
the lensplate axis, which I assume is going to be very close to nodal for most of the lenses youÆd mount.
Finally, it is topped off with a degree wheel for reference and even has a set of adjustable click-stop
indents you can set for 15, 30 or 180 degree intervals.
HereÆs a closer shot of the base showing the two rear adjusting wheels and the three-position click-stop selector.
Note that I have a generic Arca-style plate mounted to the bottom so I could more easily mount it to my existing Cube.
And obviously, if you already have a head like the Cube, this leveling base is somewhat superfluous.
But if not, this is a good option for this tech body:
enlarge click here
Jack Flesher using the Cambo WRS 40HR T/S
Click here for more information on Cambo WRS Series
Click here for more information on Cambo WRS Lens Panels